|
| |
| |
Electrical
Modifications
- Golf Cart Batteries*new 06*
The old Group 24 batteries are history. I
replaced them with two 6 volt GC-2-105 Trojan golf cart batteries connected in
series. This bank has 225 Amp hours of power, almost double
the previous one (in reality probably more than double actually
available given the age and condition of the previous ones.
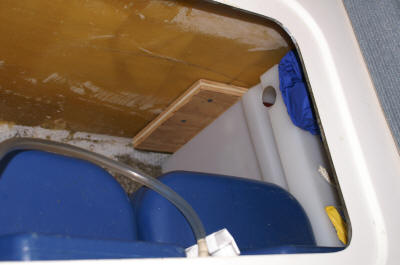
The two new batteries are taller and had to go elsewhere. They
are now in a polyethylene battery box up under the forward dinette
seat next to the two water tanks. The fit is perfect.
There is even an access panel right above the box. The water
tanks lift out and the box can be unscrewed and slid over for full
service access.
I
simply used 2 #4 13' cables to extend their connections back to the
wiring already at the aft galley compartment where they connect to
the meter shunt and a new positive post. None of the other
wiring had to be re-done but I was able to clean up the connections
and get it all mounted on the aft side of the galley shelves.
I put in another plywood panel to protect it and now have a clear
additional storage compartment.
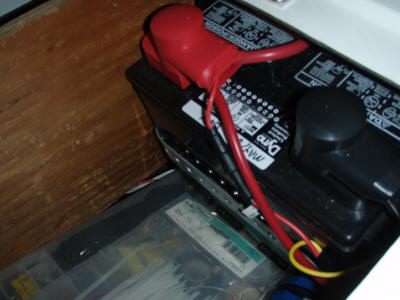
- Starting Battery
*new 08*
As part of the new motor installation
we added a dedicated starting battery. It is wired directly to
the motor which is it's only load. The battery is located back
in the standard location in the compartment just aft of the galley.
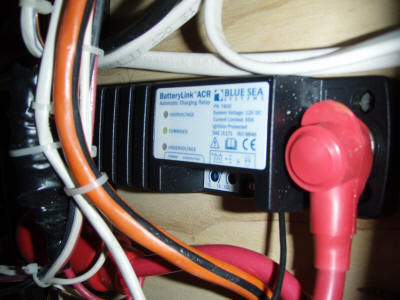
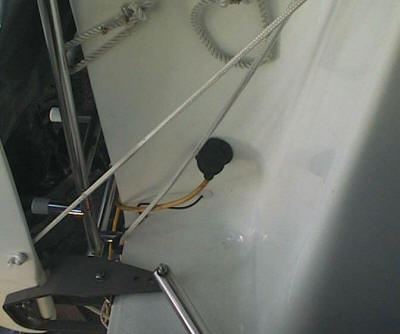
- Battery Combiner
*new 08*
Now that I have two banks of batteries, I
installed a ACR battery combiner between the starting battery and
the house golf cart batteries. When the motor is running and
the voltage rises over 13 volts on the starting battery the combiner
closes and lets the motor charge the house batteries as well.
When the motor is turned off and the voltage drops the combiner
opens keeping the starting battery isolated from the house loads
ensuring that there is always power to start the motor.
The combiner is located in the compartment just aft of the galley as
well.
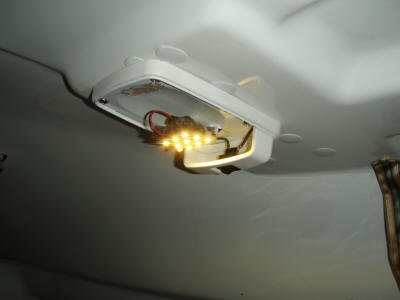
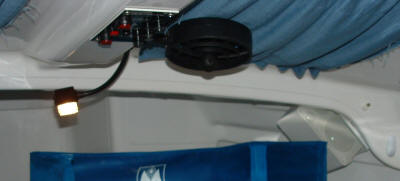
LED bulbs in fixtures
*new 08*
To reduce the power load of cabin
lighting I replaced 3 of the cabin bulbs with LED panels.
These come with a bayonet base that plugs right into the existing
fixture. I added a layer of foam between the circuit board and
the metal base for insulation, then just cable ties the board to the
bulb base in the fixture.
These bulbs are the first I have found that are really usable.
They have a nice warm white color and their coverage pattern matches
the normal bulb very well. This keeps the nice cozy feel to
the cabin instead of giving it a harsh white color.
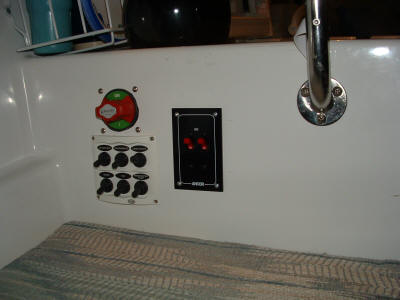
- Main Switch/Bigger Panel
*new 04*
Needing more circuits I replaced
the 4 circuit panel with a 6 circuit one that fit's in the same
hole. I enlarged the hole above it and put in a flush mount
main switch
- 120v Breaker and outlet*new
04*
Originally I just wired the
power inlet directly to the charger, but this summer I re-routed the
inlet to a pair of 15 amp main breakers. From there the power
goes to a junction box and feeds the battery charger and a GFCI
outlet mounted just forward of the galley.
*new 06*
An addition outlet is now below the dinette.
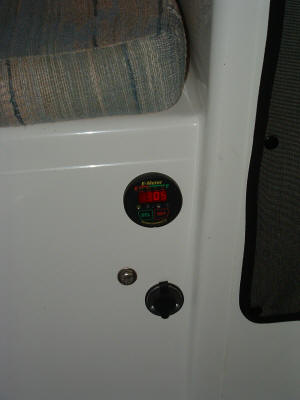
- Revised Meter Location
*new 04*
When we started carrying the
second drink cooler just aft of the galley on the battery seat area
it was no longer easy to use the meter so I moved it to the face of
the seat where it is now easily accessible.
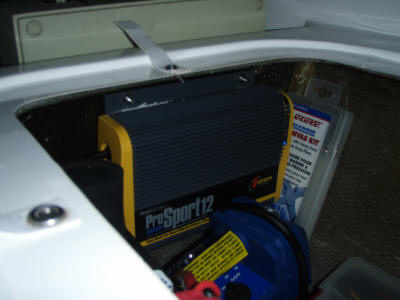
- 12a Shore Power Charger
With the bigger batteries and now the starting battery I removed the
old 5 amp charger and installed a Pro Sport 12,
12 amp 2 bank charger. This is a new generation charger that
varies the output to either bank based on need rather than just
supplying a fixed output. This gives us more 12v power without
draining the batteries when running on 120v shore power at the dock.
The charger is located in the compartment just aft of the
galley.
- 15a Power Inlet
On the inside port transom I installed a
15 amp shore
power inlet. This lets me use a simple extension cord for
shore power. I have a 120v 30a to 120v 15a converter plug for
use at those marinas without 15 a power outlets.
|
 |
|